Creating a Project
The New Project option creates a new project. When you create a new project, Ghidra
will close your current project, create the new project, and update the Ghidra Project Window
with the newly created project. The New Project wizard takes you through the steps to
create either a non-shared project or a shared project. The shared project can be
shared with others, meaning that the project will be associated with a repository on a
server that other users can access.
To create a new non-shared project:
- Select the File
 New
Project... menu option from the Ghidra Project Window.
New
Project... menu option from the Ghidra Project Window.
- The first panel of the New Project wizard is
displayed, where you choose the project type.
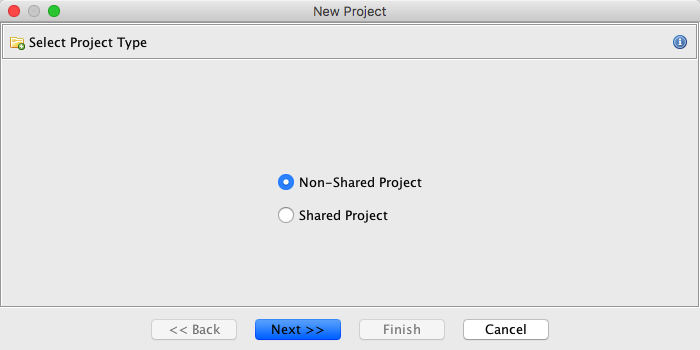
- Leave the Non-Shared Project radio button selected to create a project that will
not be shared with others.
- Activate the Next>> button.
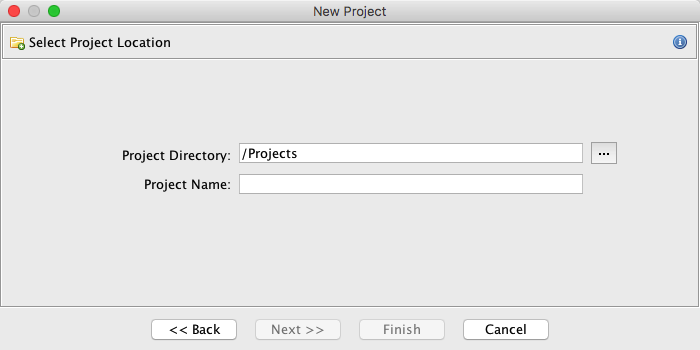
- Click on the browse button (...) to display a file chooser; select the directory
of where you want your new project to reside. The Project Directory field
defaults to the last directory that you specified to create a new project.
- Enter the name of your new project; the Finish button is enabled.
- Activate the Finish button. If you have a project opened, Ghidra closes the
project and opens the new project.
- If there is an active project and it has been modified, Ghidra will prompt to save the
active project before closing it. From the Save Modified Files dialog, click the
OK button to save changes to the project that is being closed as the new one is
opened.
Creating a Shared Project
 The discussion for this
section assumes the following:
The discussion for this
section assumes the following:
- You have a Ghidra Server that is set up to manage the project repository that you are
going to access.
- You have been added to the server's list of known users.
- If you are associating your project with an existing project repository, the Administrator of the project has added you as a user to the project
repository.
- You know the name and port number of the Ghidra Server.
- If the Ghidra Server is using PKI Authentication, you have a PKI Certificate.
To create a shared project,
- Select the FileNew
Project... menu option from the Ghidra Project Window; the first panel of the New
Project wizard is displayed.
- Select the Shared Project radio button on the Select Project Type
panel.
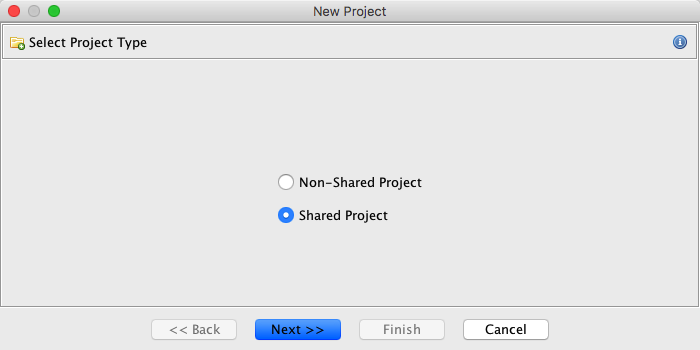
- Activate the Next >> button.
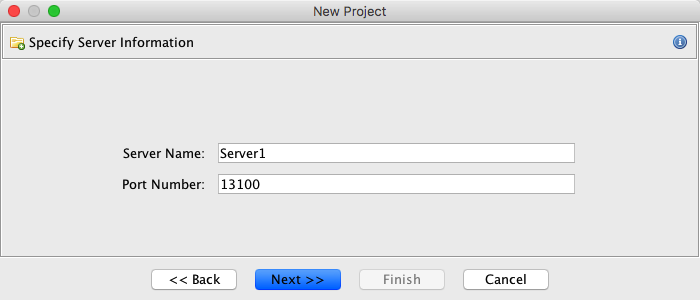
- Enter the name of the server or the IP address of the server of where the repository
resides. (If you had specified server information for accessing another shared project, then
the server and port number from that project are used as default values.)
- Enter the port number. The default port number is 13100.
-
Activate the Next >> button.
Refer to the Troubleshooting page if
you fail to connect to the Ghidra Server.
-
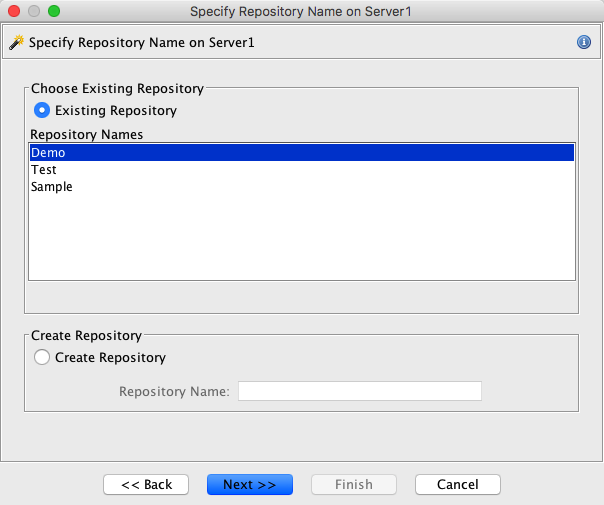
In this example, three repositories are listed in the Repository Names list which
reflect all the repositories the user has access to on the currently connected server.
This list may differ based upon your login credentials.
By default, the Existing Repository radio button is
selected because of the existing repositories found on the server. Only those repositories
you have been granted access to will be included in this list.
- To use an existing repository, leave the radio button selected, and select a
repository name from the list of Repository Names.
- To create a new repository, select the Create Repository radio button;
the Repository Name field becomes enabled. Enter the name of the new
repository. This option will be disabled if you have logged into the Ghidra Server
in anonymous mode.
-
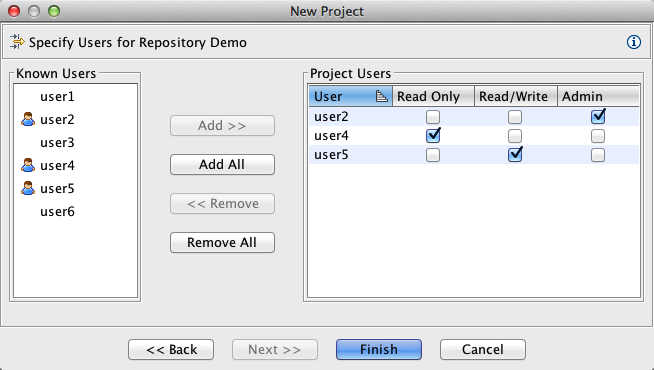
Activate the Next>> button. If you selected the Create Repository radio
button, then the following sample Project Access panel to specify user access is
displayed. If you are creating a new shared repository, you are by default the Administrator in the project. You are not allowed to change your own access.
If the server has been configured with anonymous mode enabled, an additional checkbox
control will appear allowing you to grant anonymous access to this new repository.
-
Users that are known to the server are listed in the Known Users area. Users that
are part of the project are marked with the
 icon. To add users, select users from Known Users, select the
Add>> button. Add all users by selecting the Add All button. To remove
users, select users in the project, and select the <<Remove button. To remove
all users (except yourself), select the Remove All button.
icon. To add users, select users from Known Users, select the
Add>> button. Add all users by selecting the Add All button. To remove
users, select users in the project, and select the <<Remove button. To remove
all users (except yourself), select the Remove All button.
The Project Users table on the right side of the
dialog indicates user privileges:
- Read Only - the user can open programs in read only mode, cannot check out files from the
repository, and cannot check in files, and cannot add files
to the repository. The read only user may create a local copy of the program; the project
repository is not affected.
- Read/Write - the user can check out files from the repository and check in
files into the repository, and add new files to the repository.
- Admin - the user has read/write privileges as well as the
ability to add users to and remove users from the project; the Admin can assign
administrative privileges to other users. The project must have at least one
administrative user. The administrator also can terminate a check
out.
If you are creating a
project against an existing repository, then you will not see the Project
Access panel as part of the New Project wizard. After you have opened the
shared project, and if you are an administrator in the existing repository, then you
can display and modify user privileges by choosing the ProjectEdit Project Access List... option.
- Active the Next>> button; you must next
specify where to create your project that will be associated with the project repository.
Typically, you would specify a directory on your local file system.
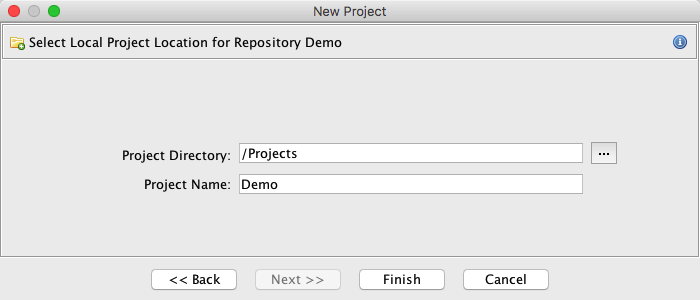
- Select the project directory. The Project Directory field defaults to the
directory that you last specified for a new project. Click on the browse (...)
button to bring up a file chooser.
- The Project Name field defaults to the name of the repository that you selected in
Step 7. The Finish button is enabled when the Project Directory and
Project Name fields have valid entries.
- Select the Finish button to complete the New Project process.
Before the new project is opened, if you made changes, you are asked whether to save the old
project. If you choose to open the new project, the default tool Code Browser is in the Tool Chest and no
files are associated with the project that you have just created. Your current workspace is named "Workspace."
Related Topics: